Standing Overhead Triceps Extensions
Standing overhead triceps extensions are a great exercise for targeting the triceps muscles. This exercise is also known as the French press or the skull crusher. It can be performed with a barbell, dumbbells, or an EZ bar. In this article, we will discuss the benefits of standing overhead triceps extensions, how to perform the exercise, and variations of the exercise.
Benefits of Standing Overhead Triceps Extensions
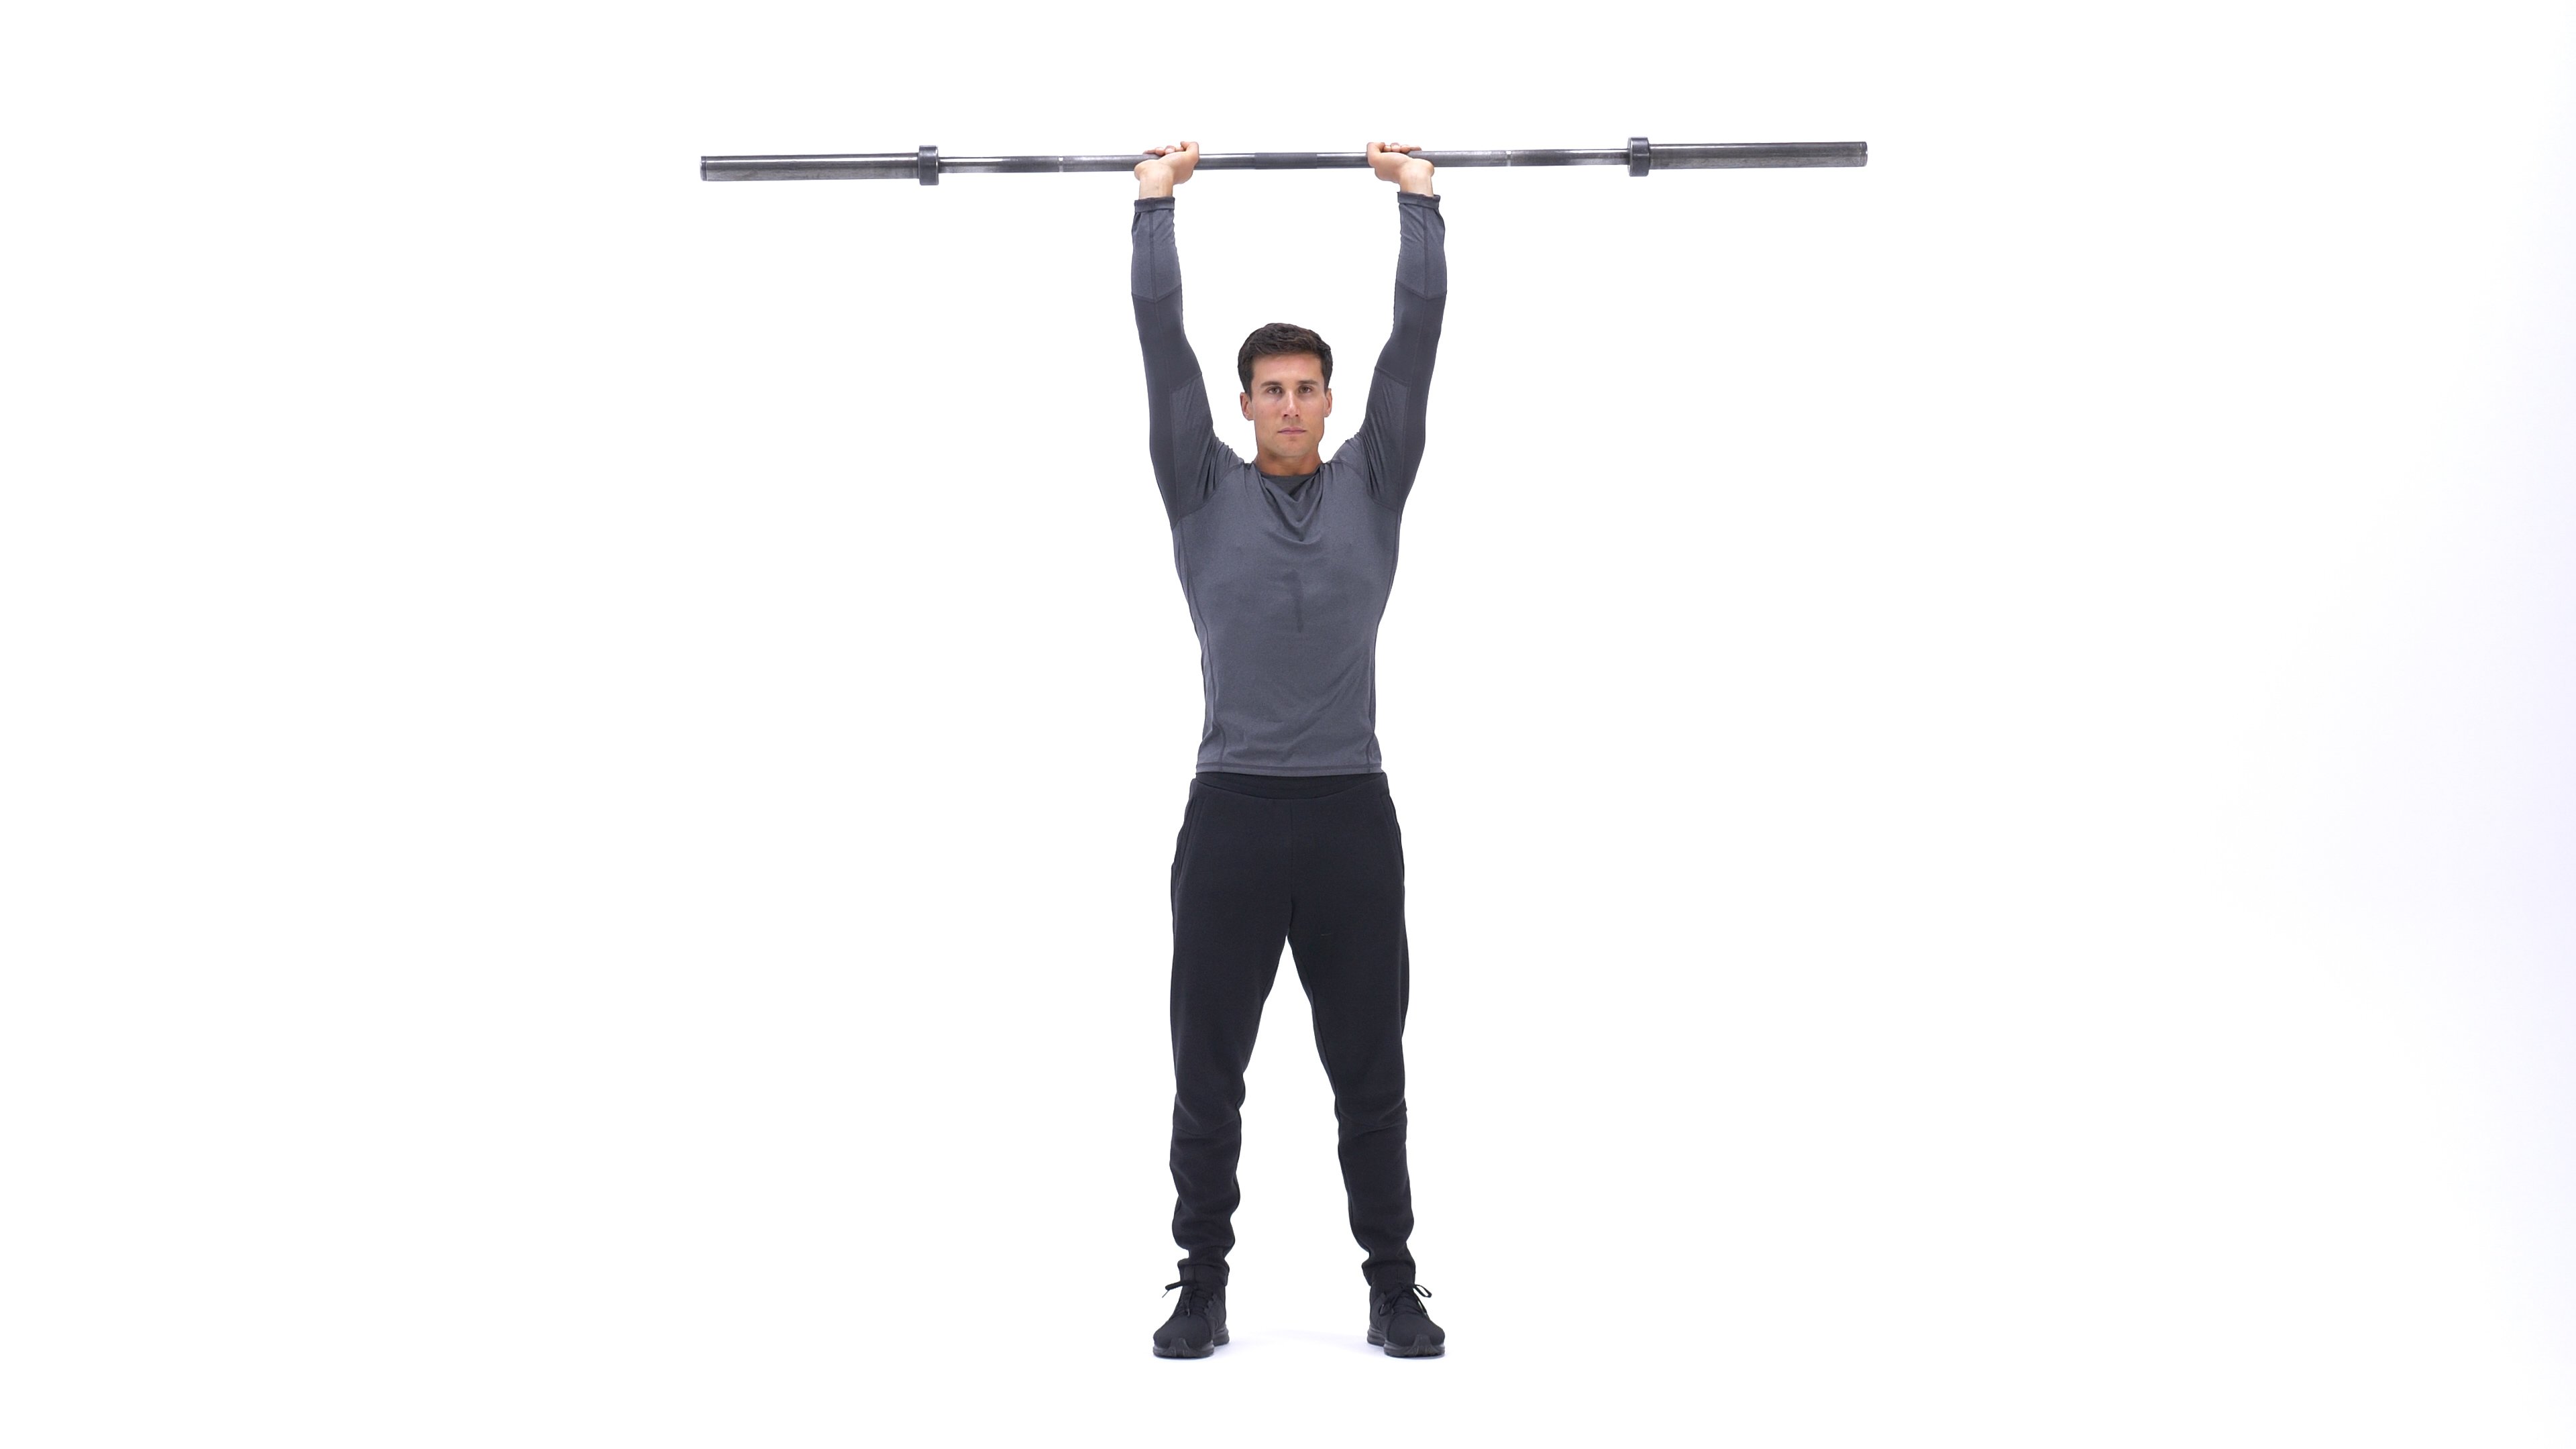
Standing overhead triceps extensions are a great exercise for building strength and size in the triceps muscles. The triceps muscles are responsible for extending the elbow joint and are used in many upper body movements such as pushing and pulling. By strengthening the triceps muscles, you can improve your overall upper body strength and performance.
Standing overhead triceps extensions are also a great exercise for improving your shoulder stability and mobility. Since the exercise requires you to hold the weight overhead, it can help improve your shoulder strength and stabilizers. This can help prevent shoulder injuries and improve your posture.
How to Perform Standing Overhead Triceps Extensions

To perform standing overhead triceps extensions, follow these steps:
- Stand with your feet shoulder-width apart and hold the weight with both hands behind your head.
- Keep your elbows close to your head and slowly lower the weight behind your head until your forearms are parallel to the ground.
- Pause for a moment and then slowly raise the weight back up to the starting position.
- Repeat for the desired number of reps.
When performing this exercise, it is important to keep your elbows close to your head and to use a weight that you can control. Avoid using momentum to lift the weight and focus on using your triceps muscles to perform the movement.
Variations of Standing Overhead Triceps Extensions

There are several variations of standing overhead triceps extensions that you can perform to add variety to your workout:
- Dumbbell standing overhead triceps extensions
- EZ bar standing overhead triceps extensions
- Single-arm standing overhead triceps extensions
- Seated overhead triceps extensions
Each of these variations targets the triceps muscles in slightly different ways and can be used to add variety to your workout routine.
Conclusion
Standing overhead triceps extensions are a great exercise for building strength and size in the triceps muscles. They are also a great exercise for improving your shoulder stability and mobility. By adding standing overhead triceps extensions to your workout routine, you can improve your overall upper body strength and performance.
Related video of Standing Overhead Triceps Extensions
Plank Shoulder Taps Muscles Worked
Plank shoulder taps are a popular exercise that can help you improve your core strength, stability, and balance. This exercise is beneficial for people of all fitness levels, and it targets several muscles in the body. In this article, we will discuss the muscles worked during plank shoulder taps and how to perform this exercise correctly.
What Are Plank Shoulder Taps?
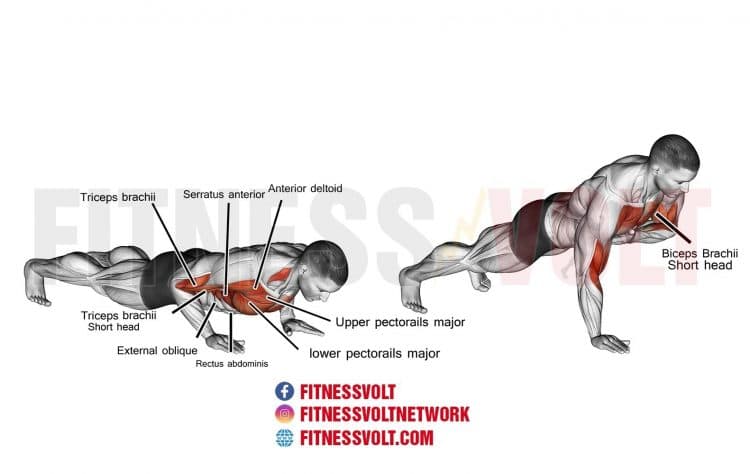
Plank shoulder taps are a variation of the traditional plank exercise. Instead of holding a static plank position, you will be tapping your shoulders with your hands while maintaining the plank position. This exercise targets your core muscles, including your abs, lower back, and obliques, as well as your shoulders and chest.
How to Perform Plank Shoulder Taps
Here are the steps to perform plank shoulder taps:
- Start in a high plank position with your hands shoulder-width apart and your feet hip-width apart.
- Engage your core muscles and keep your back straight.
- Lift your right hand and tap your left shoulder.
- Return your right hand to the starting position and repeat with your left hand tapping your right shoulder.
- Continue alternating shoulder taps for 30-60 seconds.

Muscles Worked During Plank Shoulder Taps
Plank shoulder taps target several muscles in the body, including:
- Abdominals: The rectus abdominis and transverse abdominis muscles are engaged to stabilize the spine and maintain the plank position.
- Obliques: The internal and external oblique muscles are activated to rotate the torso and maintain balance.
- Lower back: The erector spinae muscles are engaged to maintain a neutral spine and prevent any excessive arching or rounding.
- Shoulders: The deltoid muscles are activated to lift and lower the arms during the shoulder taps.
- Chest: The pectoralis major muscles are engaged to stabilize the shoulders and prevent any excessive movement.
Tips for Performing Plank Shoulder Taps Correctly
Here are some tips to help you perform plank shoulder taps correctly:
- Engage your core: Keep your abs and lower back muscles engaged throughout the exercise to maintain proper form and prevent any sagging or arching.
- Keep your hips level: Avoid any twisting or tilting of your hips during the shoulder taps. Keep them level with the ground.
- Don't rush: Perform the shoulder taps slowly and with control to maximize the benefits of the exercise.
- Breathe: Inhale as you lift your hand and exhale as you tap your shoulder. Maintain a steady breathing pattern throughout the exercise.
Variations of Plank Shoulder Taps
If you want to make the plank shoulder taps more challenging, you can try these variations:
- Mountain climbers: Perform a plank shoulder tap, then bring your knee up to your chest and tap it with your opposite elbow. Alternate sides.
- Single-arm shoulder taps: Perform shoulder taps with one arm while keeping the other arm extended in front of you.
- Side plank shoulder taps: Start in a side plank position and perform shoulder taps on the top arm.
Conclusion
Plank shoulder taps are an effective exercise that can help you improve your core strength, stability, and balance. This exercise targets several muscles in the body, including your abs, lower back, obliques, shoulders, and chest. By incorporating plank shoulder taps into your workout routine, you can enhance your overall fitness and achieve your fitness goals.
Related video of Plank Shoulder Taps Muscles Worked
Chest Workout Warm Up
Before starting any chest workout, it is essential to warm up your chest properly. Proper warm-up exercises can help prevent injury and improve your performance. This article will provide you with some of the best chest workout warm-up exercises.
Why Warm Up Your Chest?
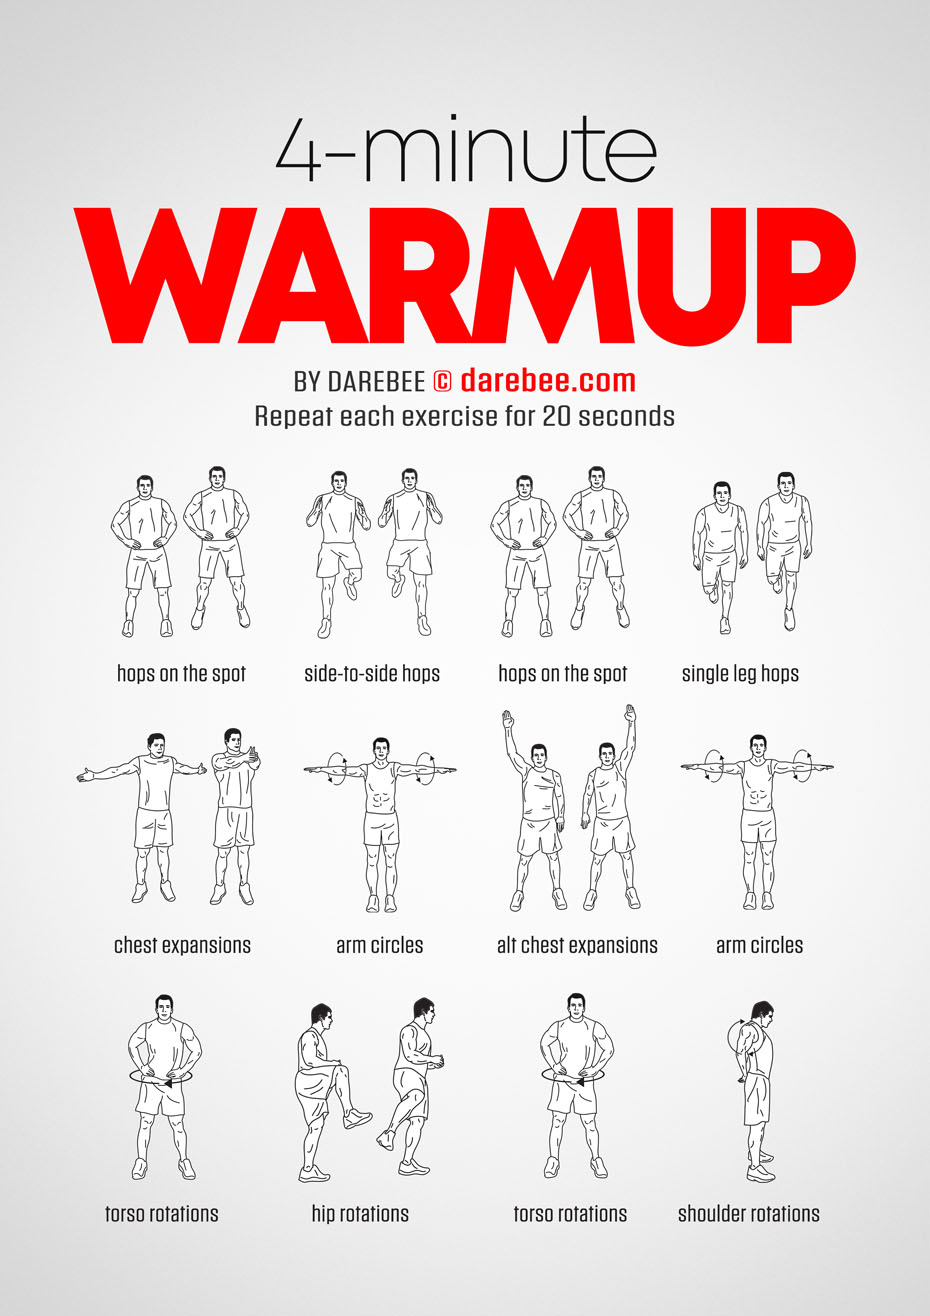
Warming up your chest muscles is crucial to avoid injury. A proper warm-up increases blood flow to the muscles, which helps to prepare them for the upcoming workout. It also helps to increase your range of motion and flexibility, which further reduces the risk of injury.
Dynamic Warm-Up Exercises
Dynamic warm-up exercises are very helpful in preparing your chest muscles for the workout. They involve movement and stretching, which activate the muscles and increase the blood flow.
Some of the best dynamic warm-up exercises include:
- Arm Circles
- Shoulder Dislocations
- Chest Opener
- Chest Stretch
- Push-Ups
Static Stretching

Static stretching is also essential before any chest workout. It helps to improve flexibility and range of motion, which further reduces the risk of injury. Static stretching involves holding a stretch in one position without moving.
Some of the best static stretching exercises for your chest include:
- Wall Chest Stretch
- Doorway Chest Stretch
- Chest Fly Stretch
- Chest Press Stretch
Breathing Exercises
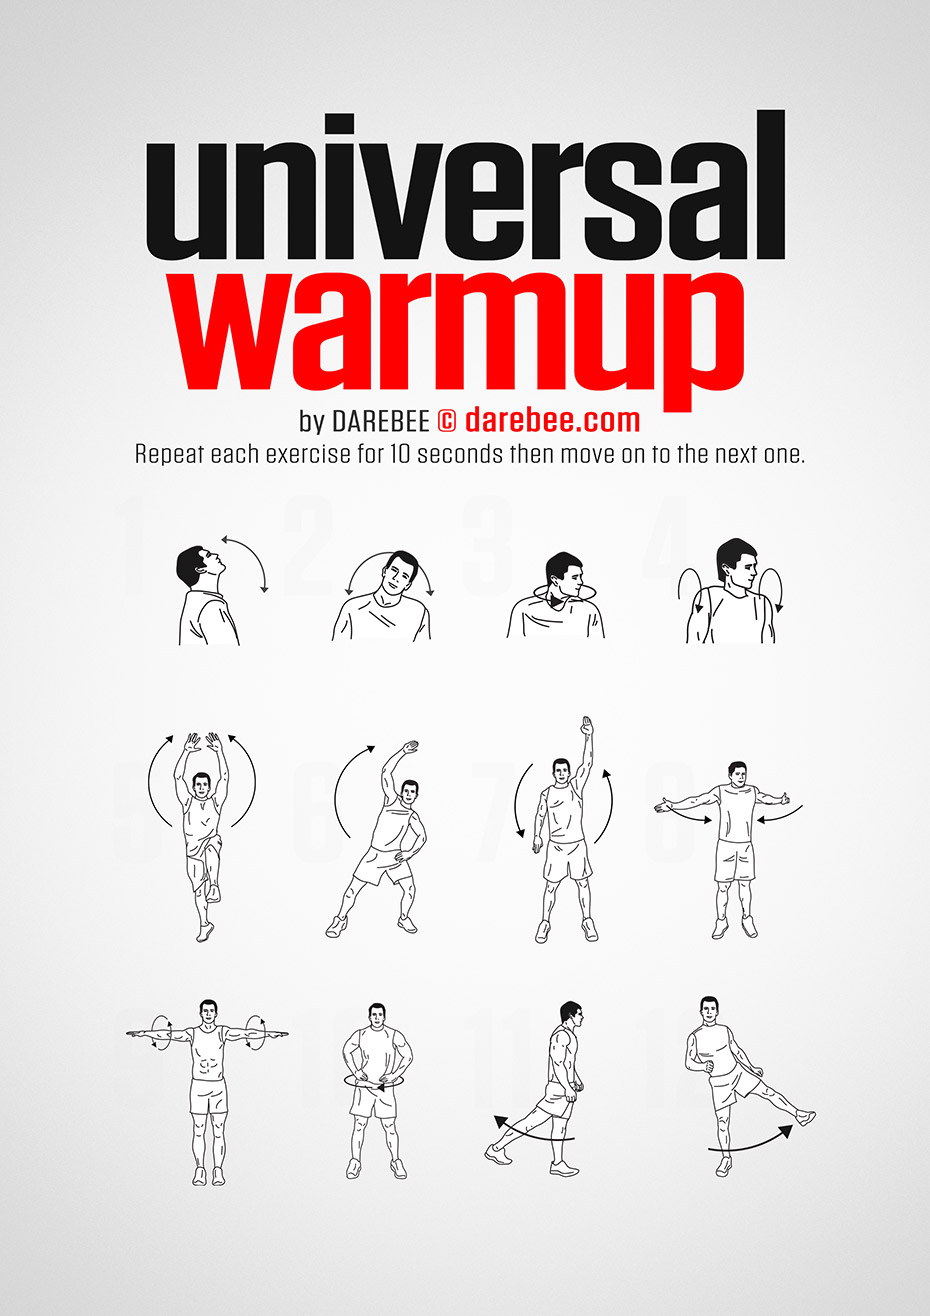
Breathing exercises can also be helpful in preparing your chest muscles for a workout. Deep breathing exercises help to increase blood flow and oxygenation to the muscles, which can help improve performance and prevent injury.
Some of the best breathing exercises for your chest include:
- Deep Breathing
- Pranayama Breathing
- Bhastrika Breathing
- Kapalbhati Breathing
Conclusion
Warming up your chest muscles before any workout is essential to prevent injury and improve your performance. Dynamic warm-up exercises, static stretching, and breathing exercises can help prepare your chest muscles for the workout. Incorporate these exercises into your routine to avoid injury and maximize your chest workout results.
Related video of Chest Workout Warm Up
Hip Thrust Muscles Worked

If you are looking to tone and strengthen your glutes, then look no further than the hip thrust exercise. This exercise is a great way to work your hip extensors, which include the gluteus maximus, hamstrings, and adductor magnus muscles. In this article, we will explore the hip thrust muscles worked in detail, as well as the benefits of this exercise.
What are the Hip Thrust Muscles Worked?

The hip thrust primarily targets the gluteus maximus muscle, which is the largest muscle in the buttocks. This muscle is responsible for extending the hip joint, and it plays a key role in activities such as standing up, climbing stairs, and running. When you perform the hip thrust, you are working this muscle in a targeted and isolated way.
In addition to the gluteus maximus, the hip thrust also works the hamstrings, which are the muscles located on the back of the thigh. These muscles are responsible for flexing the knee joint and extending the hip joint. By working the hamstrings in conjunction with the glutes, you can achieve a more balanced and functional lower body.
Finally, the adductor magnus muscle, which is located on the inner thigh, is also worked during the hip thrust exercise. This muscle is responsible for adducting the hip joint, or bringing the thigh towards the midline of the body. By working this muscle, you can improve your overall lower body strength and stability.
Benefits of Hip Thrust Muscles Worked

The hip thrust exercise offers a number of benefits for those looking to tone and strengthen their glutes. First and foremost, it is an effective way to build muscle in the gluteus maximus, which can give your butt a more lifted and toned appearance.
In addition, the hip thrust can help to improve your overall lower body strength and stability. By working the glutes, hamstrings, and adductor magnus muscles, you can achieve a more balanced and functional lower body, which can help to reduce the risk of injury during other exercises and activities.
Finally, the hip thrust is a relatively simple exercise that can be done with minimal equipment. All you need is a bench or sturdy surface to lean against, as well as a weight or resistance band to add additional resistance. This makes it a convenient and accessible exercise for people of all fitness levels.
How to Perform the Hip Thrust Exercise
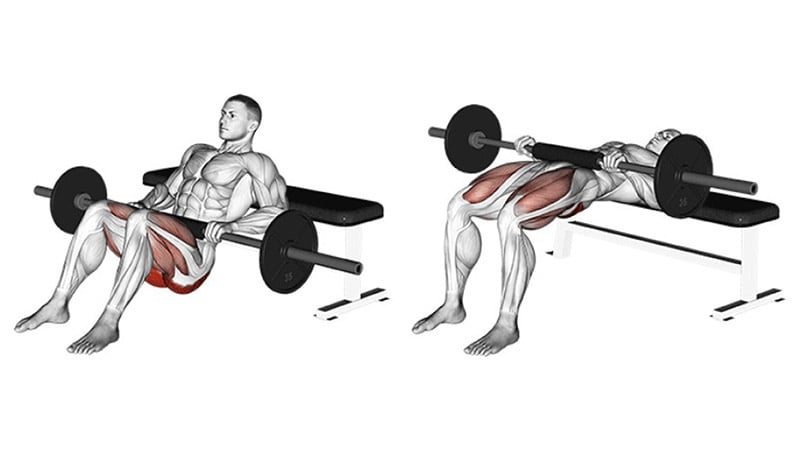
If you are interested in incorporating the hip thrust exercise into your workout routine, here is a step-by-step guide:
- Start by sitting on the ground with your back against a bench or sturdy surface, with your feet flat on the ground and your knees bent.
- Place a weight or resistance band across your hips, and hold it in place with your hands.
- Engage your core muscles, and slowly lift your hips off the ground until your body forms a straight line from your knees to your shoulders.
- Pause at the top of the movement, and then slowly lower your hips back down to the ground.
- Repeat for 10-12 repetitions, and then rest for 30-60 seconds before performing another set.
Tips for Performing the Hip Thrust Exercise

Here are some tips to help you get the most out of your hip thrust exercise:
- Focus on squeezing your glutes as you lift your hips off the ground, and hold the contraction for 1-2 seconds at the top of the movement.
- Keep your feet flat on the ground throughout the exercise, and avoid lifting your toes or heels.
- Use a weight or resistance band that is challenging but still allows you to maintain good form.
- Breathe deeply and rhythmically throughout the exercise, exhaling as you lift your hips and inhaling as you lower them.
- Perform the exercise slowly and with control, and avoid using momentum to lift your hips.
Conclusion
The hip thrust exercise is a great way to tone and strengthen your glutes, as well as improve your overall lower body strength and stability. By targeting the gluteus maximus, hamstrings, and adductor magnus muscles, you can achieve a more balanced and functional lower body, which can help to reduce the risk of injury during other exercises and activities. So if you are looking to build a better butt, give the hip thrust a try!
Related video of Hip Thrust Muscles Worked
Sumo Stance Leg Press

Introduction
If you're looking to target your lower body muscles, the sumo stance leg press is an excellent exercise to consider. This variation of the leg press engages different muscles compared to the traditional leg press, and it's especially useful for those with wider hips. In this article, we'll discuss the sumo stance leg press in detail, including its benefits, how to perform it correctly, and some tips to keep in mind.The Benefits of the Sumo Stance Leg Press
The sumo stance leg press is an excellent exercise to build lower body strength and size. It primarily targets the quads, hamstrings, and glutes. Additionally, it places less stress on your lower back compared to the traditional leg press, making it a safer option for those with back issues. The sumo stance also helps you to engage your adductors, which are the muscles on the inside of your thighs.How to Perform the Sumo Stance Leg Press
To perform the sumo stance leg press, follow these steps:- Adjust the seat of the leg press machine so that your knees are bent at a 90-degree angle when your feet are on the platform.
- Place your feet wider than shoulder-width apart, with your toes pointing outwards.
- Push the platform away from you, extending your legs fully.
- Lower the platform back down slowly, bending your knees and keeping your back flat against the seat.
- Repeat for the desired number of repetitions.
Tips for Performing the Sumo Stance Leg Press
To get the most out of the sumo stance leg press, keep these tips in mind:- Ensure that your knees are tracking in line with your toes throughout the exercise.
- Avoid locking your knees at the top of the movement, as this can increase your risk of injury.
- Keep your feet flat on the platform throughout the movement.
- Don't let your hips come off the seat as you lower the platform.
- Breathe out as you push the platform away from you, and breathe in as you lower it back down.
Variations of the Sumo Stance Leg Press
Here are some variations of the sumo stance leg press you can try:- Single-leg sumo stance leg press: Perform the exercise with one leg at a time, alternating between legs.
- Narrow sumo stance leg press: Bring your feet closer together, with your toes still pointing outwards.
- Paused sumo stance leg press: Pause for a few seconds at the bottom of the movement before pushing the platform back up.